EDITORIAL CHECK
Source and Review Basis
Bukchon guides prioritize resident etiquette and visiting-hour limits, using official tourism and Seoul Hanok references for noise, route, and timing checks.
If the best Bukchon hanok photo spots feel harder to find than expected, the problem is not a lack of pretty scenes. Bukchon makes sense through alley order rather than through one oversized landmark. The district works through slope, wall lines, rooflines, and the way the Anguk-side approach opens the area gradually. This guide narrows that logic into the places and framing patterns that make Bukchon read clearly in photos.
— Where should you begin if you want the best Bukchon hanok photo spots
- Best starting point: enter from the Anguk side and read the first uphill alleys before chasing deeper lanes.
- Best for: hanok portrait backgrounds, layered roofline shots, and slower alley photography.
- Best time: late morning and the hours before sunset give the strongest roofline definition.
- First-visit tip: move in short segments instead of standing in one place too long.
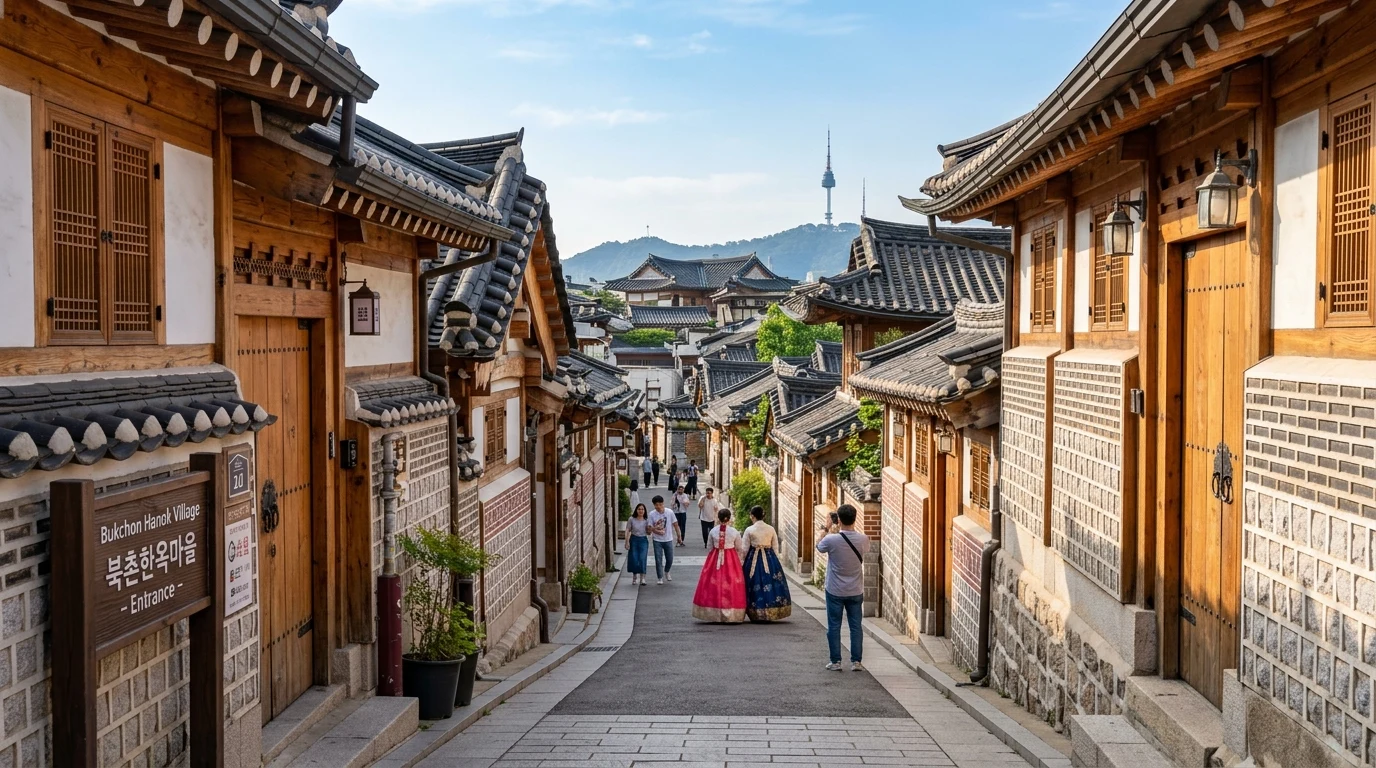
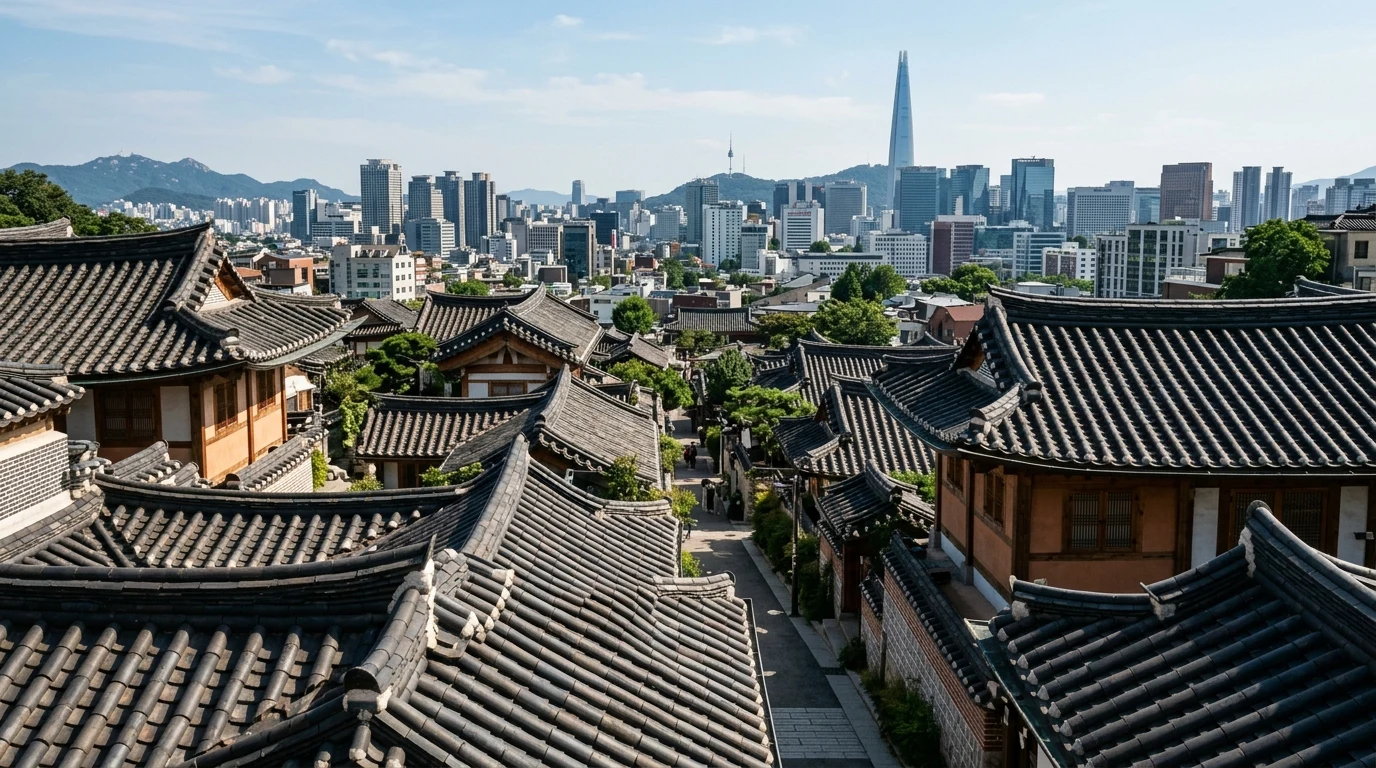
The best Bukchon hanok photo spots begin where the neighborhood is still easy to read. On the Anguk side, the district has not yet broken into too many similar branches, so visitors can understand slope, direction, and background depth before narrowing into smaller turns.
If visitors start too deep inside Bukchon, many early frames begin looking too similar too quickly. The Anguk-side approach helps because it introduces slope, wall height, and alley width in a more legible order. Bukchon makes more sense when the route is learned gradually.
— Which alleys look the most distinctly Bukchon
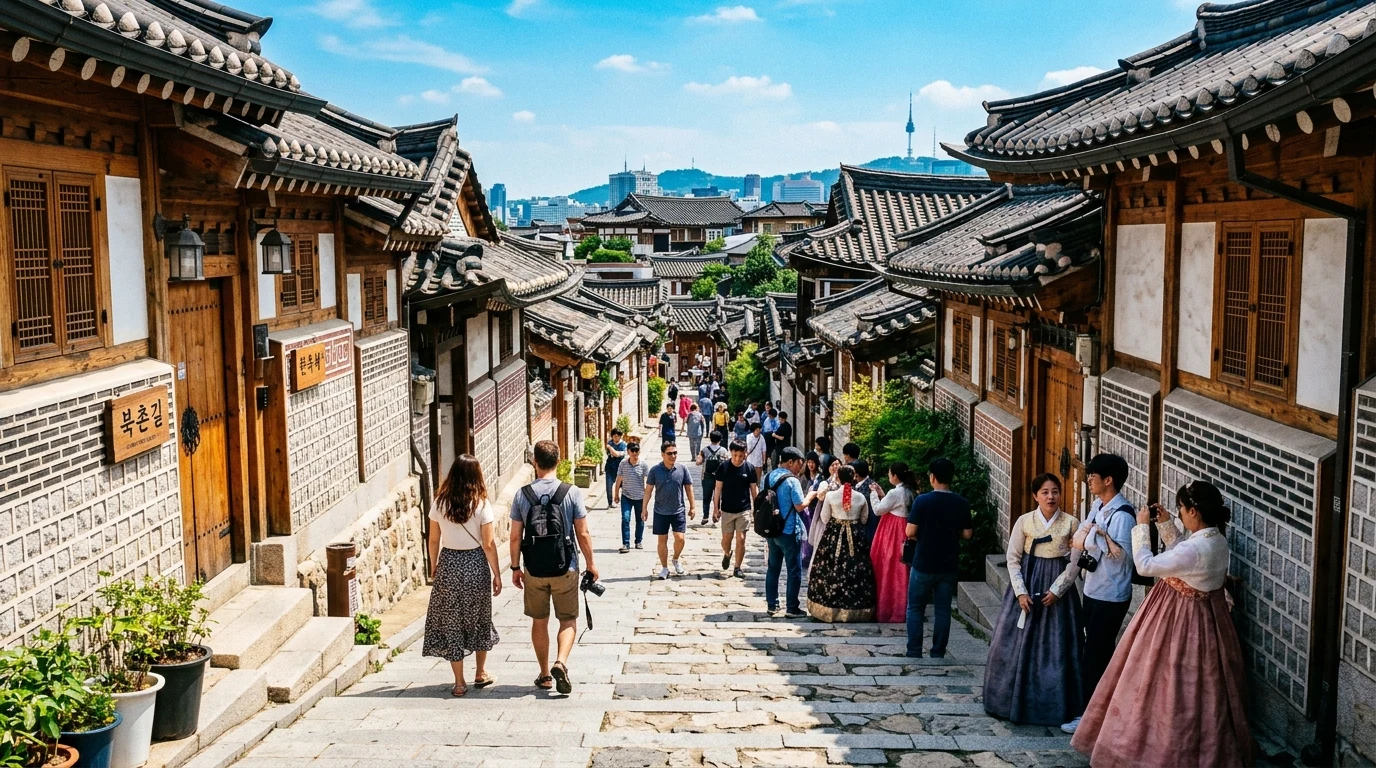
Bukchon feels most like Bukchon when three elements overlap inside one frame: tiled rooflines, low walls or fence lines, and a distant layer of city depth. When those elements stay together, the result stops looking like a generic hanok snapshot and starts reading as a neighborhood-specific scene.
That is why slightly turning alleys and modest uphill sections work better than fully open views. Bukchon is rarely strongest when it becomes too wide. It is strongest when the frame keeps enough compression to show layered roofs and alley depth at the same time.
That is especially useful on busier days. Straight-on frames can fill too fast with people and signs, while corner-led or uphill frames naturally narrow the visual field. Bukchon becomes more specific when the scene is compressed, not when it is maximized.
— When do rooflines and wall textures look best
Bukchon rooflines flatten when the light gets too harsh, and the alleys lose detail once the day gets too late. Late morning and the period before sunset work best because the light gives enough shape to the tiles, wall surfaces, and slope changes without burying the smaller details.
At those times, both portraits and wider alley scenes become easier to control because the background explains itself better.
Season shifts the effect too. Winter and early spring make rooflines and walls feel sharper, while early summer softens the alleys with more greenery. Bright summer midday light can flatten the same surfaces, making Bukchon feel less layered than it actually is.
If you want to compare that alley-based hanok look with palace-adjacent scenery, Gyeongbokgung Nearby Hanok Photo Spots is the most useful next read.
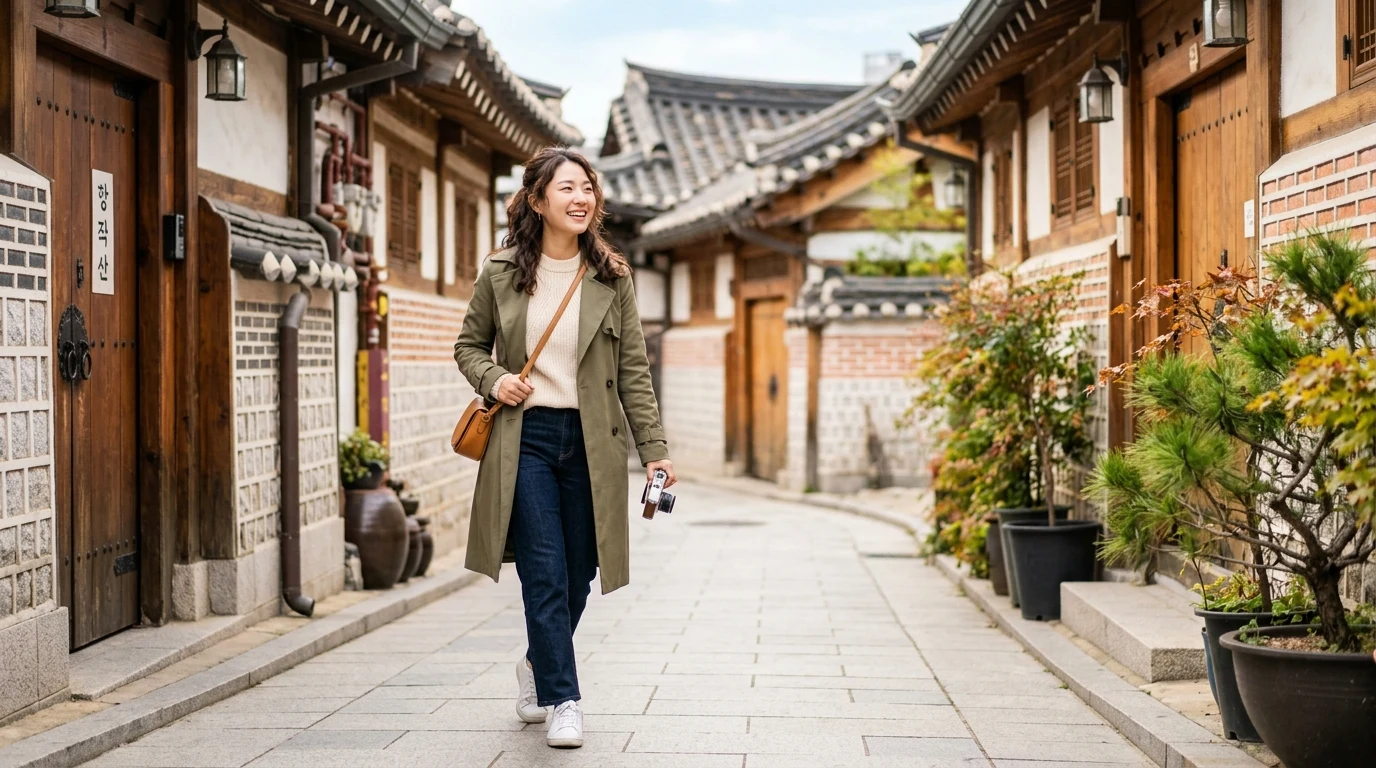
— How should you think differently about portraits and wider Bukchon scenes
Portraits work best in alleys where the background stays controlled and does not spread too far behind the subject. Wider Bukchon scenes, by contrast, need overlap and depth. They become strongest where multiple rooflines, a slope break, or an opening view give the frame more layering.
That difference matters because many first-time visitors try to solve every shot in the same place. Bukchon rewards separation. One alley may be better for portraits, while another is better for neighborhood atmosphere.
Knowing that shortens the walk as well. Portraits can be finished quickly in cleaner wall-led sections, while atmosphere scenes deserve a slower stop at a turn, a slope break, or a layered roofline point. The route becomes easier once different shot types stop competing for the same exact alley.
If you want to carry that hanok mood directly into an output-focused page after the walk, a K-style profile flow is a natural bridge from scenery to result.
— What is the easiest first-time walking route for Bukchon photography
For a first visit, the most reliable route is to start near Anguk, follow one gradual uphill section until the view changes two or three times, take portraits where wall and roofline density feels stable, then move slightly deeper for wider alley scenes before returning to the larger flow. That sequence keeps Bukchon readable instead of overwhelming.
It works because Bukchon does not reveal itself all at once. Each turn changes the frame.
Visitors who organize the route around those changes come away with a much clearer set of photos than visitors who treat the district as one continuous photo zone.
For the wider neighborhood logic behind that route, keep the Anguk entrance, wall-lined alleys, roofline overlaps, and return path in one sequence. That helps anchor the photo stops inside the full Bukchon walk.
— How do crowds and walking rhythm change the Bukchon result
Bukchon's best-known points can get crowded fast, especially on weekends. In those conditions, shifting one alley over works better than waiting for a perfect empty moment in a famous spot. Because the district repeats similar visual logic through many lanes, a small adjustment works.
Walking rhythm matters just as much. If visitors stop at every corner, the route loses flow. If they move too quickly, the useful changes between one alley and the next disappear. Bukchon works best as a sequence of short walks and short pauses rather than one long continuous photo hunt.
— What should first-time visitors stop trying to do in Bukchon
The most useful thing to give up is the idea of seeing every good alley in one visit. Bukchon repeats similar-looking lanes, and too much coverage can make the district feel blurrier instead of richer. A stronger route leaves you with one roofline alley, one wall-led alley, and one point where the city opens slightly in the distance.
It also helps to stop expecting one location to solve every kind of photo. Portraits, texture-led scenes, and wider neighborhood frames need different background density. Bukchon becomes easier when visitors divide those goals instead of forcing one alley to do everything.
That reduction improves the route immediately. The walk gets shorter, the photo set gets more varied, and the neighborhood becomes easier to understand.
The best Bukchon hanok photo spots are easiest to read when you begin from Anguk and let the first uphill alleys establish direction.
Bukchon looks strongest when rooflines, wall texture, and distant city depth stay layered inside one controlled frame.
Portrait alleys and wider neighborhood scenes work better when treated as separate shot types instead of one-stop solutions.
💡 Editor's Pros & Cons
There is a reason why so many people recommend this, but rather than blindly following trends, you should adapt it to your own style. I made a lot of mistakes at first, but eventually found my own formula through trial and error. Start small and see what works for you!
| Pros | Cons | Editor's Solution | |---|---|---| | Access | Easy to find | Crowded on weekends (Go on weekday mornings) | | Trendy | Looks great in photos | Trends pass quickly (Only buy one point item!) | | Variety | Many options | Hard to choose (Read reviews first) |