EDITORIAL CHECK
Source and Review Basis
Seoul photo-spot guides are checked against city and park references because seasonal flowers, parks, lakes, and walking routes can change by date and event.
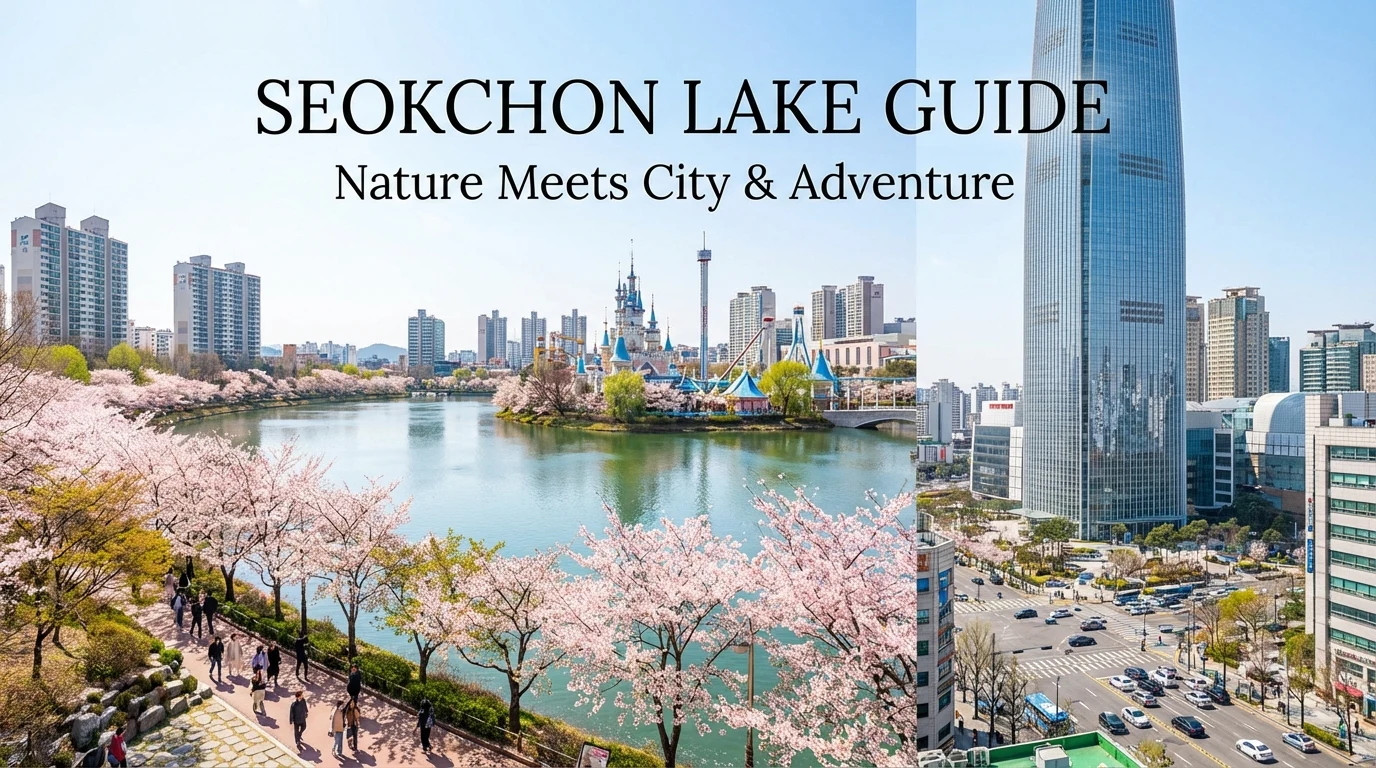
Seokchon Lake works best as a walking photo route, not as one fixed cherry blossom checkpoint. Visitors get better results once they decide whether they want open lake views, blossom-heavy sections, or date-friendly walking scenes with softer background balance. This guide explains how to read Seokchon Lake by route structure, spring crowd flow, and easier photo logic.
First Seokchon route choice for an easy lake photo walk
- Best starting logic: begin from a section where the lake opens clearly before moving into denser blossom or crowd zones.
- Best for: Jamsil lake walks, spring portraits, date-friendly photo routes, and Seoul blossom scenes with more breathing room.
- Best route tip: do not start by chasing the busiest blossom pocket first; let the lake scale explain the route before narrowing in.
- Time budget: allow 45 to 70 minutes for an unhurried photo walk, or 20 to 30 minutes if you only want one side of the lake.
- Best timing: before 9:30 a.m. for calmer spring spacing, or the last 90 minutes before sunset for softer water and skyline light.
First-time visitors make Seokchon harder by searching for the most famous point immediately. In practice, the route becomes easier once the wider lake edge is visible first, because the path rhythm and stopping logic make more sense that way.
That matters because Seokchon Lake is not only about blossom density. It is also about how the open water, walking line, and city-side background stay balanced while you keep moving.
Visitors get better results when they let the route open first instead of forcing the busiest section to explain the whole lake.
On a crowded spring walk, the first sign that a section is too tight is not the number of people in the frame. It is whether you can still keep the waterline visible behind the subject without cutting off the walking path. If every portrait has only blossoms and shoulders in the background, move 3 to 5 minutes along the loop before trying again.
Keep the path and water in the same Seokchon frame
Seokchon works best when visitors keep both the lake surface and the walking path in view. If the frame closes too tightly around blossoms or one subject, the route loses its identity and starts looking like a generic spring corner.
Mid-width framing is the safer choice here because Seokchon is a place where movement matters. The lake edge, the path, and the slower pace are what make the location legible.
For phone photos, a practical test is to stand one step back from the railing line and keep at least one clear strip of water behind the person. For camera photos, a 35mm to 50mm equivalent view is easier than a long zoom because it preserves the route context. A longer lens can make blossoms look denser, but it also compresses the lake until Seokchon loses the reason people came there.
The Jamsil skyline also changes the read of the photo. If tall buildings dominate too much, lower the camera slightly or turn the subject toward a quieter curve. If the frame feels flat, include the path edge as a diagonal line so the viewer can understand that the location is a walk, not only a background.
Spring crowd flow around Seokchon Lake
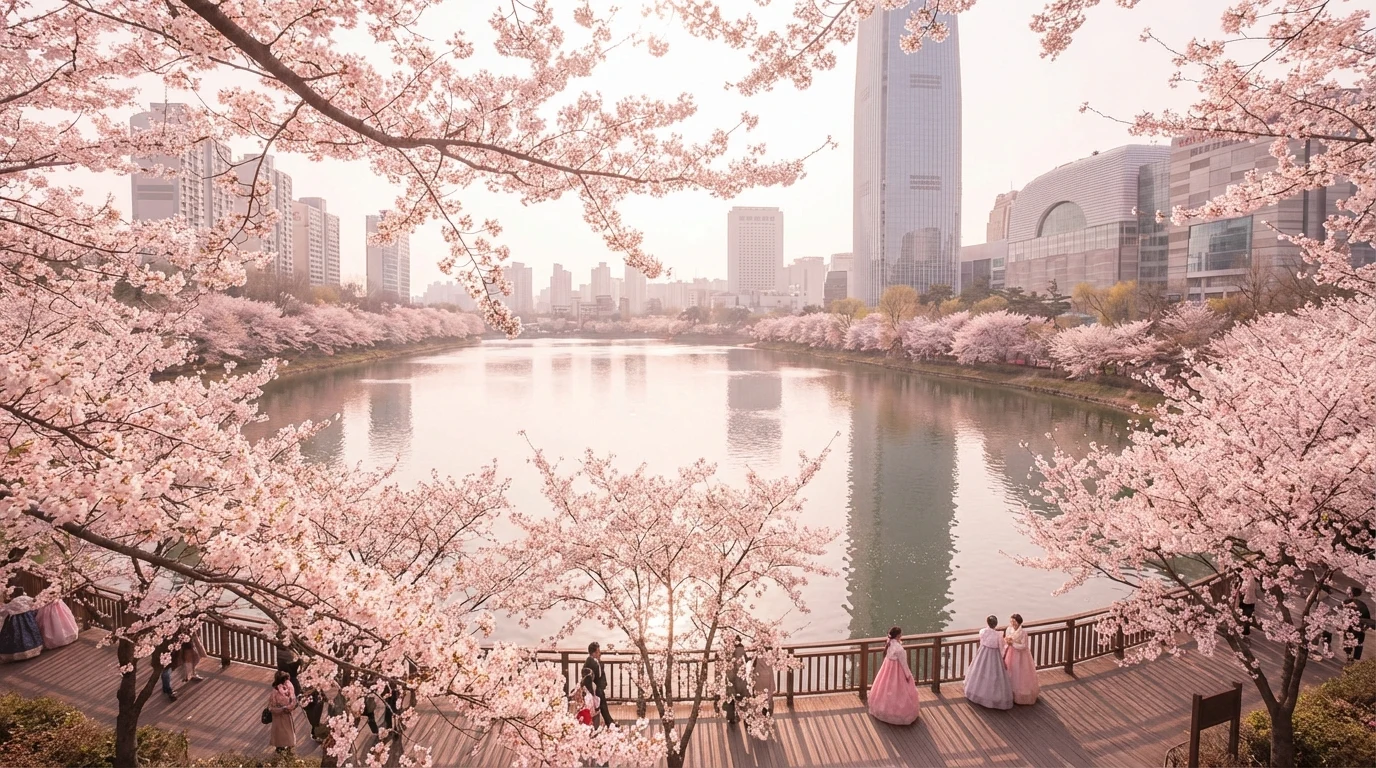
Spring changes Seokchon by adding beauty and pressure at the same time. Blossom coverage improves, but pause points fill faster, walking flow slows, and the easiest-looking sections can become the hardest to use well.
That is why blossom season does not automatically mean every famous section is the best photo section. Slightly more open stretches produce better results because visitors can still separate people, trees, and water inside one frame.
Weekend blossom crowds peak from late morning through mid-afternoon, especially when the weather is clear. If the goal is a clean portrait rather than a festival mood, arrive early enough to finish the most important photos before lunch, then use the busier period for wider walking shots where people become part of the scene.
The route feels different on cloudy days. Soft gray light can reduce harsh shadows on faces, but it also makes the water and sky closer in tone. In that condition, keep a darker tree trunk, railing, or building edge somewhere in the composition so the photo does not become a pale wash of lake, sky, and blossoms.
If you want to place Seokchon inside a wider spring-photo structure first, compare blossom density, walking width, water background, and crowd flow. That explains why Seokchon works less like a dense blossom tunnel and more like a lake-and-route spring scene.
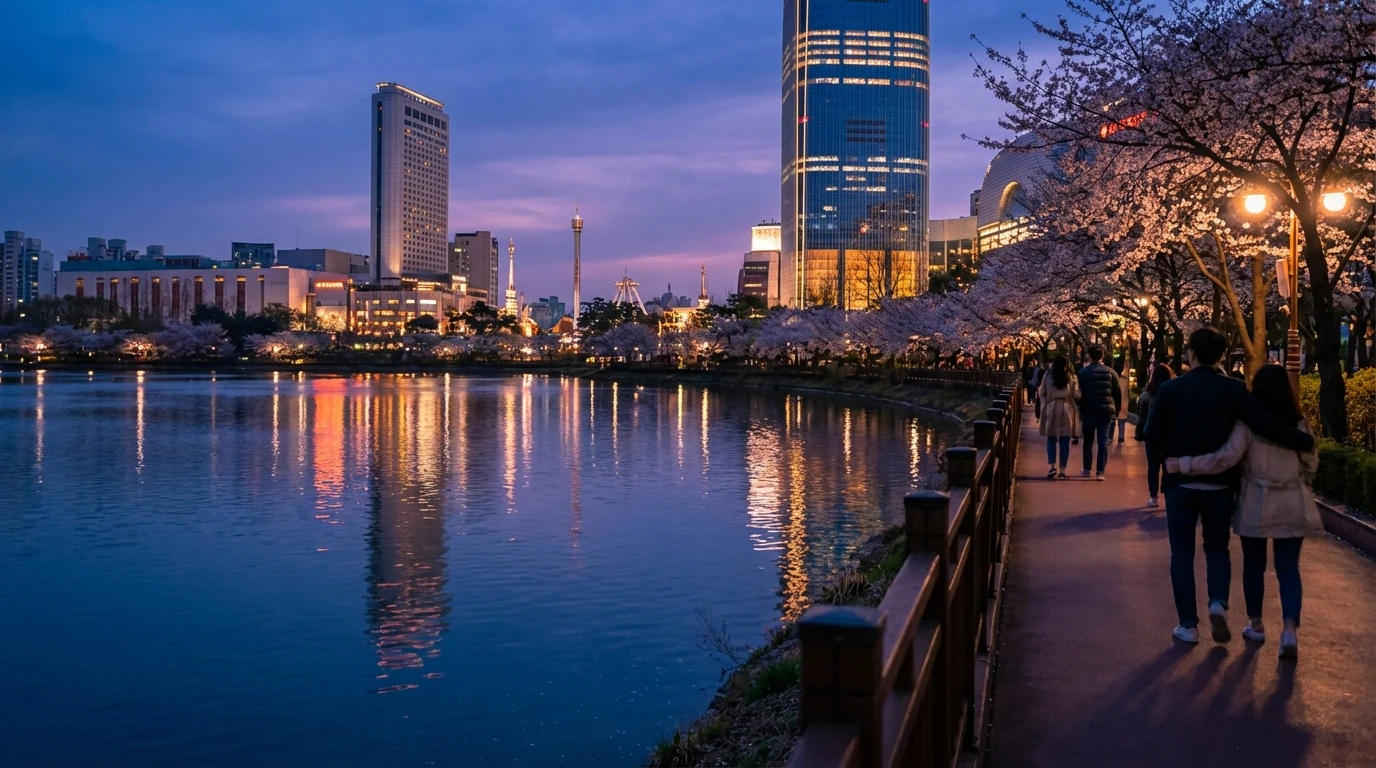
Early evening gives the lake a steadier date-photo mood
For date photos and walking portraits, early evening gives the frame more control than hard midday light. The background softens, the water reflects more gently, and people can stay visible without fighting bright contrast.
Full night shifts the route toward a different mood, where the blossom walk becomes less important than the surrounding lights and skyline. If the goal is still spring atmosphere, the period just before dark stays more balanced.
Use the last part of daylight for portraits and the first part of blue hour for walking scenes. That split keeps the face readable while still letting the lake and city lights appear. If you wait until full darkness before taking any photos, the person needs stronger artificial light and the spring detail around the path becomes harder to see.
For a simple date route, treat Seokchon as a 2-part walk: take the first 20 minutes for photos while the light is still usable, then stop shooting so the route can become an actual walk. That small division prevents the outing from turning into one long photo task.
If you want to turn that softer Seoul spring mood into something more output-focused afterward, the K-style profile flow is a natural bridge.
A first-time Seokchon Lake route that stays readable
The easiest first choice is to decide what kind of route you want Seokchon to be: a lake walk, a blossom route, or a spring date walk. That single choice makes the stop points much easier to judge because each version of the route uses the same place differently.
Most first-time visitors do best when they begin in a more open section, test the pace there, pass briefly through the busiest photo areas, and then return to a calmer part of the loop. That structure keeps Seokchon readable instead of turning the whole outing into one crowded spring checkpoint.
Even in blossom season, the strongest results come after leaving the most crowded point and rebalancing the frame somewhere with more breathing room.
If you only have 30 minutes, choose one side and commit to it instead of trying to circle everything. If you have 60 minutes or more, let the first half of the walk find the best light, then use the return direction for cleaner portraits. The return pass feels easier because you already know which corners are too crowded and which sections give the lake enough space.
The practical mistake is treating every pause as equally valuable. Seokchon rewards selective stops. Skip frames where the path narrows, bags gather near the railing, or background heads stack directly behind the subject. Save attention for curves where water, trees, and walking space separate naturally.
In practice, the best Seokchon Lake photo spots are the ones where water, walking flow, blossom color, and city background stay balanced together.
Seokchon is easiest when visitors begin from a clearer lake-edge section before narrowing into denser spring photo pockets.
The route reads most clearly when lake surface, path rhythm, and blossom color stay visible together instead of collapsing into a tight close-up.
During blossom season, slightly more open sections outperform the most famous crowded points because the route remains easier to frame.
💡 Editor's Real-Life Tip
From my own experience exploring Seoul, you don't always need to follow the exact trendy path. Sometimes the best spots are just one alley away from the main streets. Make sure to check the weather and operating hours in advance, as they can change without notice!
| Checklist | Importance | Editor's Note | |---|---|---| | Timing | ⭐⭐⭐⭐⭐ | Beat the crowds by going early! | | Weather | ⭐⭐⭐⭐ | Totally changes the vibe of your photos. | | Comfort | ⭐⭐⭐⭐⭐ | You will walk A LOT in Seoul. |